How to set up CTAs
Call to Actions are a powerful feature and can be used to direct traffic from other webpages to a page of your choosing. To set up your own CTA’s follow these simple steps: ?
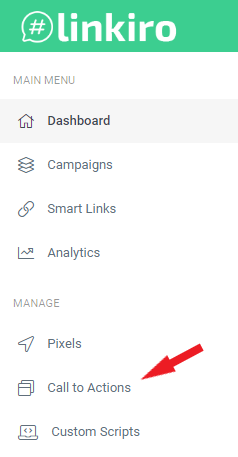
Under ‘Manage’ click ‘Call to Actions’, then on the top right of your screen click ‘Create CTA’.
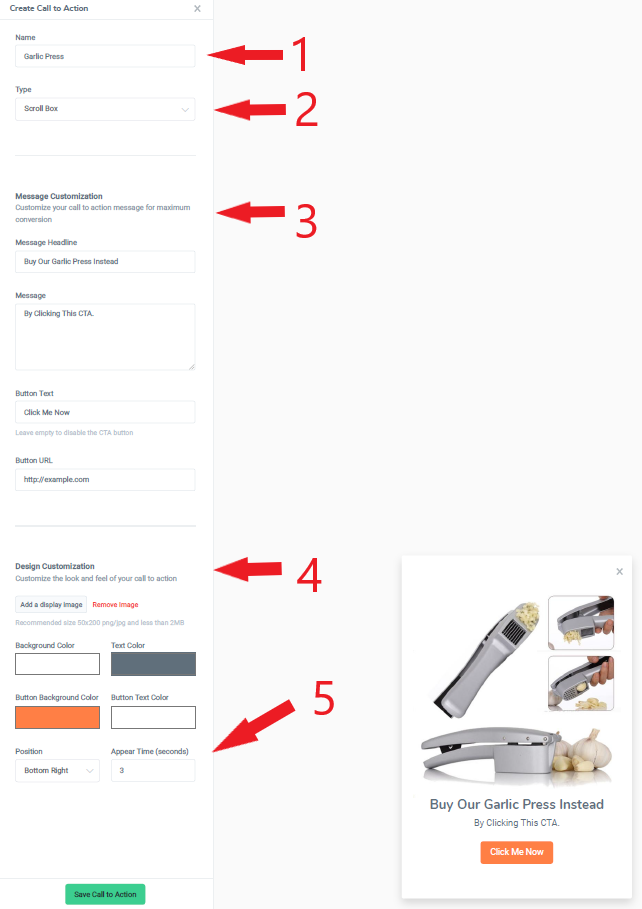
This is your CTA creation dashboard. Let’s go over all fields briefly.
- Name your CTA. Choose something that you’ll easily remember. The name won’t be visible to anyone but you.
- Type. A ‘Sroll Box’ is a overlay box element that displays on top of the page. The Scroll Box can be displayed at any corner of the screen. A Popup will function like any normal popup. A banner is a full-width element that can be display at either the top or bottom of a screen.
- Next you can customize your message. Choose a catchy headline and message, a strong call to action for your button, and a URL to link the button to.
- Design Customization. Add any appropriate image and change the colors to match your own brand or the website you’re displaying the CTA on.
- Appear Time (seconds). Choose after how many seconds on site your CTA will appear.
After hitting ‘Save’ you’re now ready to start adding your CTA to content out there on the world wide web. To do so, create a new Smart Link and from the ‘Call to Action’ dropdown select the CTA you created earlier.
Remember that the CTA feature uses iframe technology and will only work if the destination web page you’re using allows it.
That’s it, you’re now ready to rock and roll! ?